|

 About the author: Paul Diamond Blow is a musician, spoken word artist, punk rock star, kung fu master, and part time Space Commander living in Seattle, Washington. Blow is a frequent contributor to the Seattle Sinner magazine and performs regularly in the Pacific Northwest rock club circuit. His book Tales From Outer Space is out now. More Paul Diamond Blow links: Paul Diamond Blow website Paul Diamond Blow music on CDbaby Paul Diamond Blow on iTunes Related articles: How to Open an Indesign CS5 Document With Indesign CS3 Indesign CS5 Slow and Buggy? How to Speed it Up How to Merge Multiple Indesign Layouts into a Single File Indesign Tips: How to Apply Faux Bold and Italic Formatting to Text How to Convert Quark Xpress Documents to Indesign Paul Diamond Blow's "Huggy Talk" articles are copyright (c) 2010 Paul Diamond Blow Webmaster: Cornelius Zephyr privacy policy |
PHOTOSHOP TUTORIAL: How to color comic book line art in Photoshop Need to color your B&W comic book art or other illustrations, for print or just for the web? Here's how the pros do it using Photoshop... by Paul Diamond Blow
So you've got some cool black and white comic book art and you need to color it? This could be for comic books, illustrations, postcards, what have you. Here is my official guide on how to color your black and white line art files using Photoshop. For the purposes of this guide I am using a hastily drawn comic book panel: it's a scene from Planet of the Apes (since I do love drawing apes). I'm not the world's greatest artist, so I do hope you are a better artist than I am, but for the purposes of this Photoshop coloring tutorial it will have to do! 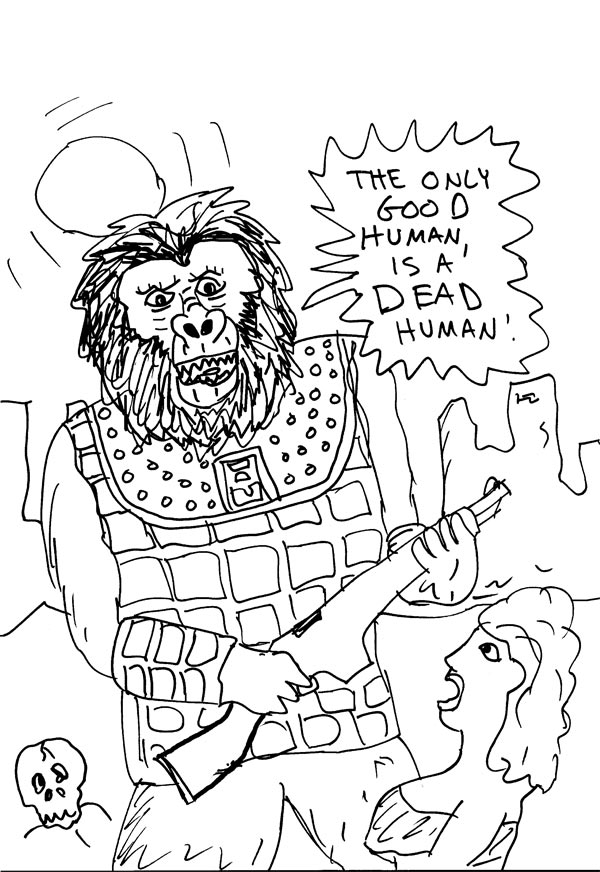
Figure 1: my original line art scan First off, you need your black & white line art as a high res (600-1200 dpi is preferred) bitmapped tiff file. (See figure 1, my black & white line art file) Preparing your line art for coloring: 1) Take your B&W line art file and convert it to grayscale, then downsample it in Photoshop to 300 dpi. Next, convert the file to CMYK so that you can actually color it with colors. Save this file (using "save as" since you do NOT want to overwrite the hi-res B&W line art file itself) as a Photoshop file (with the .psd extension). 2) In the layer palette this layer should be called "background"... change the name of this layer to "line art" and change the layer's blend mode from "normal" to "multiply." This layer will be your guide for the actual coloring which will go on a separate layer below it. |