 About the author: Paul Diamond Blow is a musician, spoken word artist, punk rock star, kung fu master, and part time Space Commander living in Seattle, Washington. Blow is a frequent contributor to the Seattle Sinner magazine and performs regularly in the Pacific Northwest rock club circuit. His book Tales From Outer Space is out now. More Paul Diamond Blow links: Paul Diamond Blow website Paul Diamond Blow music on CDbaby Paul Diamond Blow on iTunes Related articles: How to Open an Indesign CS5 Document With Indesign CS3 Indesign CS5 Slow and Buggy? How to Speed it Up How to Merge Multiple Indesign Layouts into a Single File Indesign Tips: How to Apply Faux Bold and Italic Formatting to Text How to Convert Quark Xpress Documents to Indesign Paul Diamond Blow's "Huggy Talk" articles are copyright (c) 2010 Paul Diamond Blow Webmaster: Cornelius Zephyr privacy policy |
PHOTOSHOP TUTORIAL: How to color comic book line art in Photoshop Need to color your B&W comic book art or other illustrations, for print or just for the web? Here's how the pros do it using Photoshop... by Paul Diamond Blow
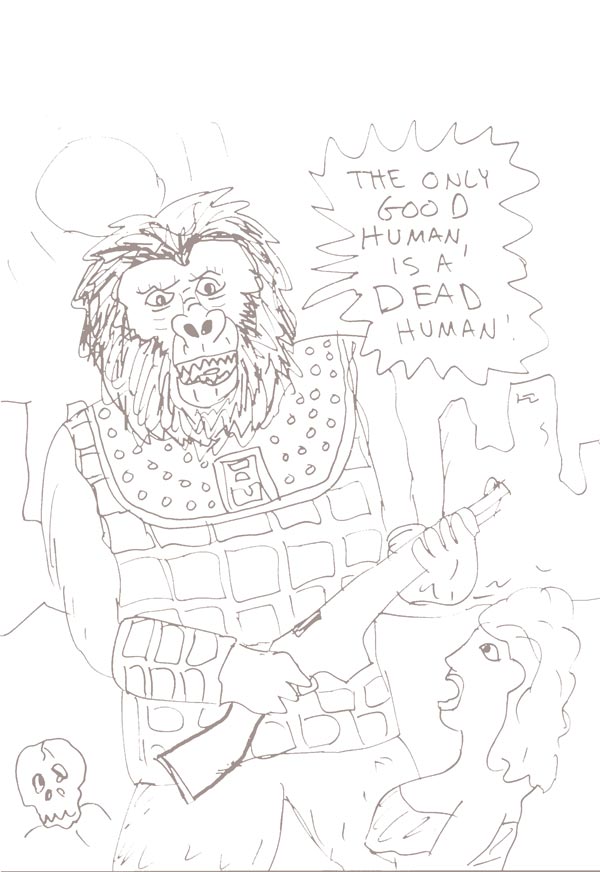
Backing up the line art: For print, it's important to back up all the B&W line art in the color file with a solid, consistent color. A color mix of 40C 40M 40Y works very well, so that all the black line work will be backed up with this mix and the blacks will be printed nice and rich. You need to create a new layer in your Photoshop file for this color mix. If you are coloring strictly for the web you can skip this step, but it is a vital step for art that will be printed. * First, with the "line art" layer selected, in the Photoshop menu bar go to "Select / color range" and in the Color Range pallette that pops up, select "shadows" with a "fuzziness" of 40. This should select ALL the black line work pixels in the "line art" layer. * Now, with all the black pixels selected, in the Photoshop menu bar go to "Select / modify / contract" and contract by 2 pixels. By contracting the selection, this ensures that the backing colors will not bleed out from underneath the actual line art file used. * Now, with the contracted selection, in your layers pallette create a new layer named "rich black". Then, in your color mixer pallette create a color mix of 40C 40M 40Y 0K. Then, with the "rich black" layer still selected go to menu item "Edit / Fill" and when the "Fill" window pops up use "foreground color" (which should be 40c 40m 40y) and hit "OK". All the selected line work should now be filled with the 40c 40m 40y mix in your "rich black" layer. Deselect the pixels, then move the "rich black" layer below the "line art" layer in your layers palette and the "rich black" color should NOT be visible behind the line art. The blending mode for this layer should be "normal". Hit "save" and move on... (See figure 2, my ape file with the "rich black' layer visible) 
Figure 2: Here is what the "rich black" layer looks like Now you've got a "line art" layer as your coloring guide, a "rich black" layer with the black backing color. Now you need to create a new layer named "color" where you will do the actual coloring. Put this new "color" layer below the "rich black" layer in the Layers palette, and now you're ready to start coloring... |
